Plan Track Revise - Revisions Quick Guide
Extract from the original help guide
Revisions
The following is a quick guide to creating a new revision of a project. You will need to be either a Manager or an Administrator to follow these steps.
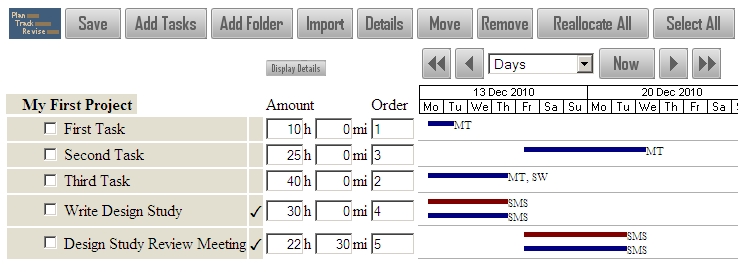
This guide uses the example project plan developed in the "Create your First Project Plan" and "Enter and View Actuals" quick guides. The user Simon Smith has entered some actual times (the red bars) that differ from the current plan (the blue bars).
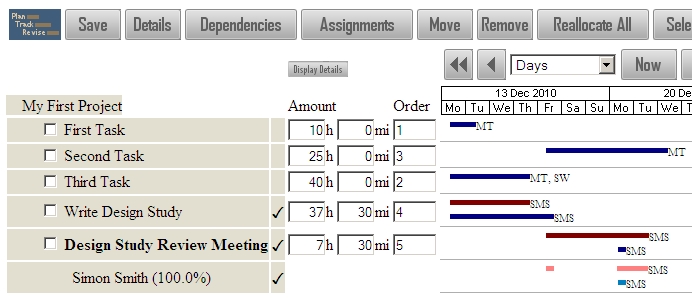
By creating a new revision the actuals that have been entered can be included in the new revision of the plan. First, select the project folder that contains the project on the main menu page, then click on the project name to see the Project Details page.
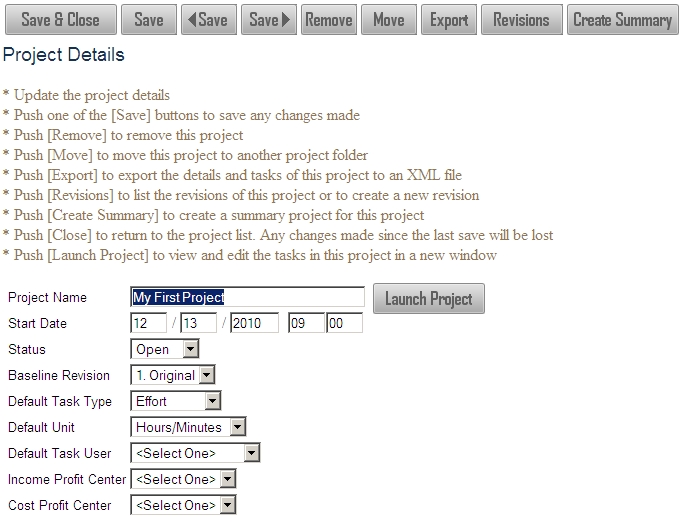
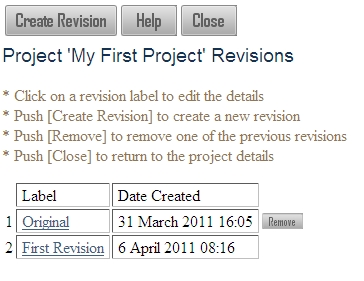
Push [Revisions] to see a list of the current revisions of the plan. Currently there is only one (the original revision that was created automatically when the project was created)
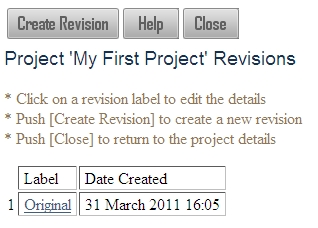
Push [Create Revision] to specify the details of the new revision.
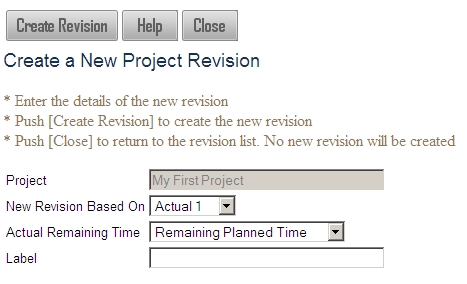
The following options can be set:
- New Revision Based On
- This will be a list of the current revisions, with "Planned" and "Actual" options for each. If a "Planned" option is selected then the new revision tasks will have the same amounts and dates as the planned revision.
- If an "Actual" option is chosen then the new revision will be based on the actual amounts and dates entered.
- Actual Remaining Time
- This option will only be enabled if an "Actual" based-on revision is chosen above. If "Remaining Planned Time" is chosen then the new revision's task amounts will be increased to be at least the current planned amount. If the actual amount is greater than the current planned amount then nothing will be added.
- If "Estimated Time to Complete" is chosen then the "Time to Complete" entered on the timesheets will be added to
the new revision's task amounts.
- Label
- Enter a text label that will be associated with the new revision. The label is optional.
For this example select "Actual 1" and "Remaining Planned Time", with "First Revision" as the label. Push [Create Revision] to create the new revision. The new revision list will be displayed.
Push [Close] to return to the Project Details page, and then push [Launch Project] to view the project in the project viewer.
You can see that the planned tasks (the blue bars) now match with the actual times entered (the red bars). Notice that the red and green drop-down lists have now been updated, so you can now view "Planned 1", "Actual 1" and "Actual 2".
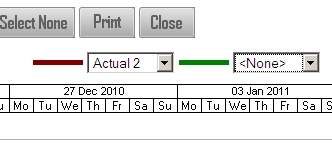
Set the green bar drop-down list to "Planned 1" so that the current and previous revisions can be compared.
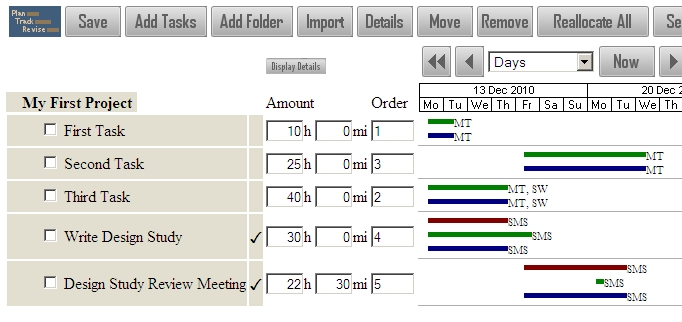
Hover your mouse over the bars to check the dates, times and effort of the tasks in the different revisions.
Compare Revisions in Reports
Back on the main menu select the "Reports" option so that we can see a comparison of the revisions in the reports. Select the "Assignment Status Report".
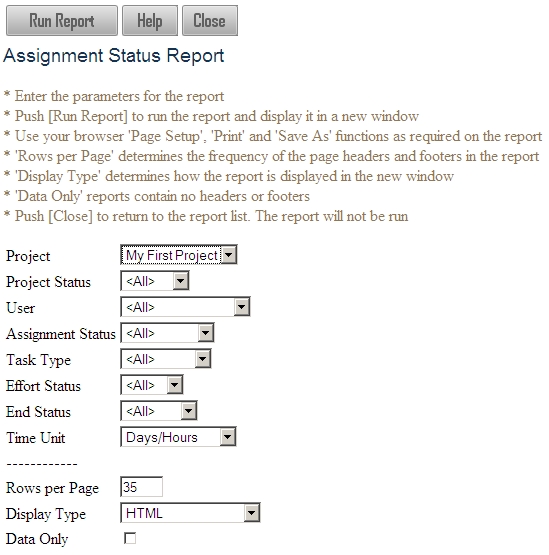
Select the project we have been working on, leave the other parameters at their default values and then push [Run Report]. The report will be displayed in a new window. If a window does not open then please check that popups are not blocked for this website in your browser.

Two lines will be displayed for each assignment, the first line with the task name, displays the amount, dates and effort on the current plan. The second line, labelled <Baseline> shows the values for the baseline revision (by default the original revision of the project). The report shows whether the task is currently under or over the effort of the original plan, and whether the task end date is early or late when compared to the original plan.
The "Task Status", "User Summary" and "Project Summary" reports can also be used to compare baseline and current revisions.
This has been a quick guide to creating project revisions. At any stage more information can be found by pushing the [Help] button on a page.