Radio Button Criteria
In a similar manner to Select Lists, other list types can be used as criteria and automatically populated from your Umbraco content.
Radio Button List
A set of radio buttons can be added as a criterion by adding a <div> tag with the sift-radio-buttons class added. The radio buttons will be automatically created based on the matching Umbraco property.
@inherits Umbraco.Web.Mvc.UmbracoViewPage
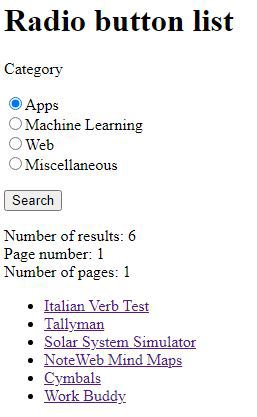
<h1>Radio button list</h1>
<div class="sift"
data-sift-result-document-type="projectPage">
<form class="sift-criteria">
@Html.AntiForgeryToken()
<p>Category</p>
<div name="radio-list" id="radio-list"
class="sift-criterion sift-radio-buttons"
data-sift-match-property="category"
data-sift-label-placement="after">
</div>
<p></p>
<input type="submit" value="Search" />
</form>
<div class="sift-result">
</div>
</div>
<script src="~/Scripts/sift.js" type="text/javascript"></script>
The label position can be changed by adding a data-sift-label-placement attribute to the criterion div. This can be set to before, after or none.
In the same way as Select Lists, the order of the radio buttons can be changed by using the data-sift-criterion-sort-by attribute and another property specified to be displayed (rather than the node name) by using the data-sift-criterion-display-property.
In the above example each label and radio button is created within its own <div> element. If, instead of using a <div> element, you use a <ul> element for the criterion then the radio buttons will be created within <li> elements, allowing you to use an unordered list if preferred.
To stop the automatic population of the list you can add the sift-populated class to the criterion. In this case you will need to create the options in the view manually.
- Getting Started with Sift
- Changing the Sift Results Layout
- Select List Dropdown Criteria
- Checkbox List Criteria
- Radio Button Criteria
- Search Triggers
- Remembering Criteria
- Pagination and Sorting
- Numbers and Dates
- Extra Bits and Pieces
- Rebuilding the Examine Index
- Reference Classes and Attributes